I combined two recipes to make this and modified as I went:
https://www.theperfectloaf.com/dark-chocolate-cherry-sourdough-bread/
https://www.recipetineats.com/easy-yeast-bread-recipe-no-knead/#wprm-recipe-container-43976
Ingredients:
3 cups (450g) flour , bread or plain/all purpose
2 tsp (1 Fleischmann’s RapidRise packet) instant or rapid rise yeast
2 tsp (12g) cooking / kosher salt , NOT table salt
3 tsp (12g) sugar
2 cups (315g) very warm tap water, NOT boiling or super hot (ie up to 55°C/130°F)
7 tsp (16g) unsweetened cocoa powder
2 tbsp (16g) canola oil (or other neutral-flavor oil)
1/3 cup (90g) Dark chocolate chunks (or chips)
90g Dried sweetened tart cherries (about half of a great value 5oz bag)
Outside of class prep time: ~3 hours
Preheat time: 30 minutes
Cook time: 30 minutes
Briquettes: 35-40, 15 on bottom, the rest on top
Instructions:
Bloom the Cocoa Powder: Put the oil in a medium saucepan over medium heat and heat until very warm, 2 to 4 minutes. Add the cocoa powder and whisk continuously until the powder dissolves and the mixture becomes thick, about 3 to 4 minutes. Remove the pan from the heat and let cool. (Pro tip: start whisking immediately or the cocoa powder will burn)
Mix Dough: Mix flour, yeast, salt, and sugar in a large bowl. Add water, then use the handle of a wooden spoon to mix until all the flour is incorporated. Pour the bloomed cocoa onto the dough and mix it in until it’s thoroughly incorporated. If you want the dough to be completely dark in color, mix the cocoa in well at this point, but if you’d like a more marbled bread look, mix it more gently and stop before it’s fully dispersed. Dough will be wet and sloppy – not kneadable, but not runny like cake batter. Adjust with more water or flour if needed for the right consistency. (see attached picture)
Rise: Cover with cling wrap or plate, leave on counter for 2–3 hours until it doubles in volume, it’s wobbly like jelly and the top is bubbly (see attached picture). If after 1 hour it doesn’t seem to be rising, move it somewhere warmer.
Optional – refrigerate for flavour development: At this stage, you can either bake immediately (move onto Step 6) or refrigerate for up to 3 days.
Take chill out of refrigerated dough – if you refrigerated dough per above, leave the bowl on the counter for 45 – 60 minutes while the oven is preheating. Cold dough does not rise as well.
Preheat oven – Put empty dutch oven on briquettes, Preheat to 450°F (about 30 minutes)
Mix cherries and chocolate in: pour about half of the cherries and chocolate into the bowl. Put some flour on your hands, and stretch and fold the dough to lightly mix the cherries and chocolate, then pour in the rest. Stretch and knead the dough until the cherries and chocolate are relatively well-mixed in the dough. During this process, try as best you can to roll/fold the dough into a round shape.
Transfer to paper: Put a large piece of parchment/baking paper (not wax paper) on top of the bowl, then flip the dough upside down onto the paper (i.e. seam side down, smooth side up). You can reshape it into a more round(ish) shape or just leave it be. Don't get too hung up about shape. In fact, lopsided = more ridges = more crunchy bits! Using a sharp knife, score the top of the loaf.
Dough in pot: Remove the lid of the hot dutch oven. Holding the edges of the paper, drop the paper with the dough on it into the pot, place the lid on. (because the lid is hot, having a friend help with this is very helpful)
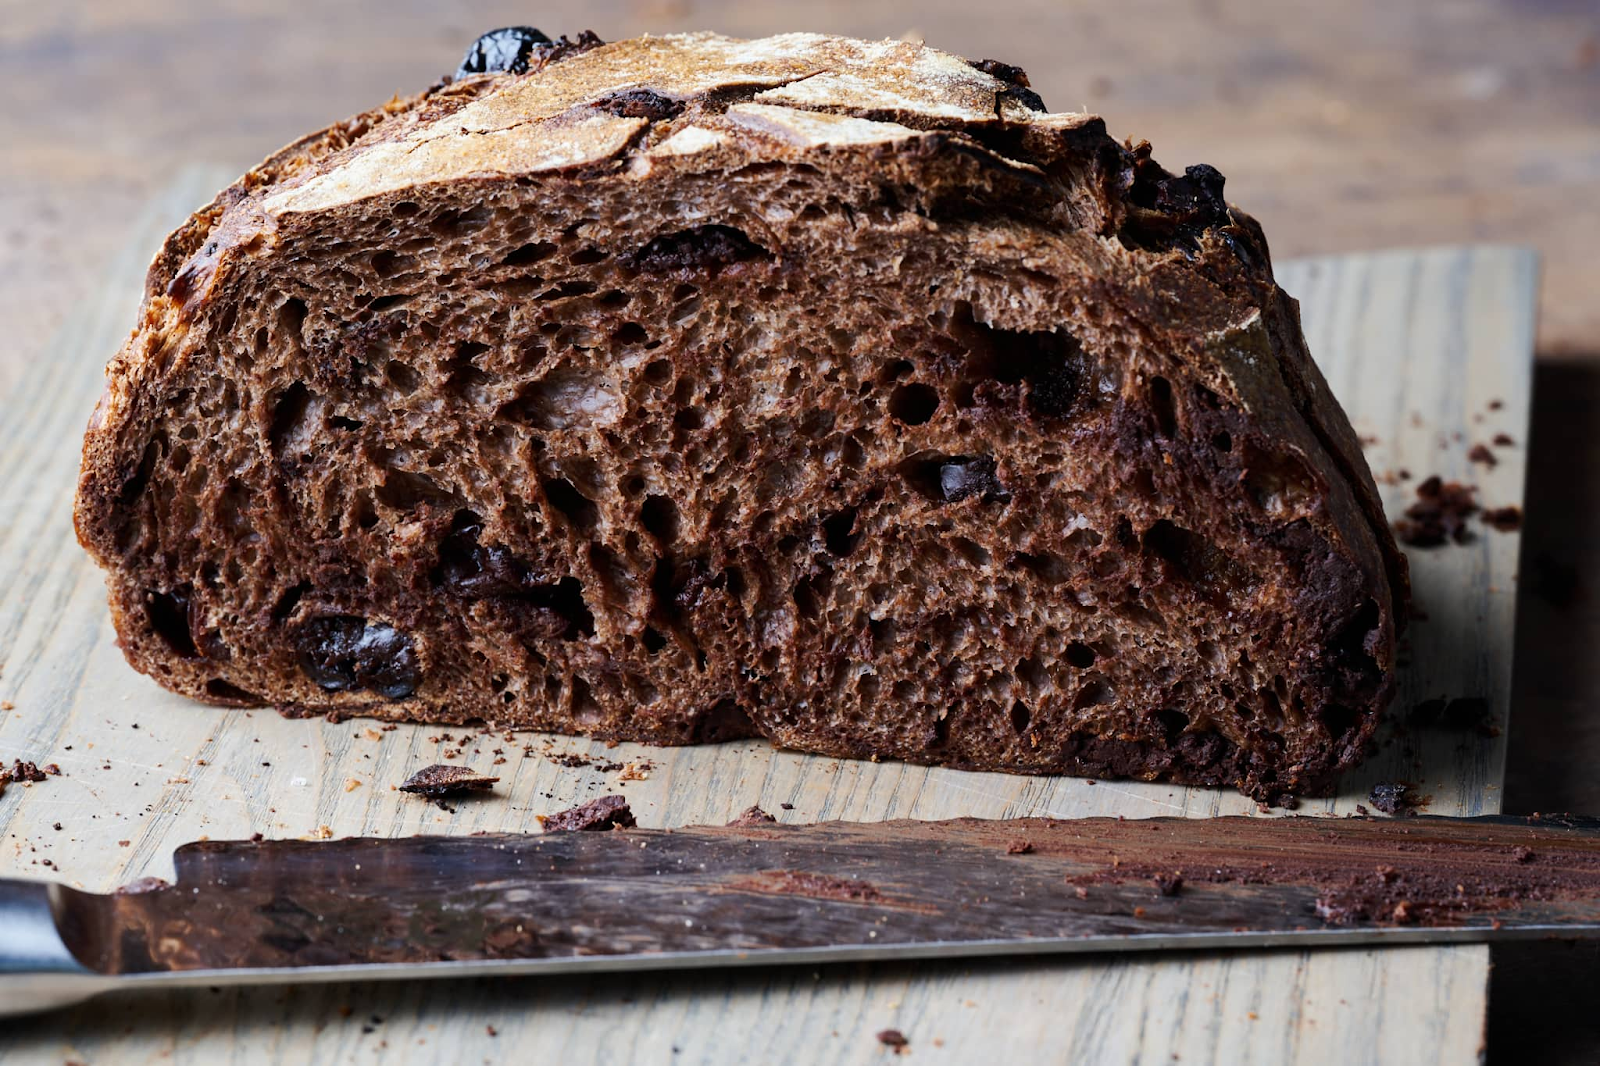
Bake for 30 minutes, lift paper and bread out of the oven, cool for 10 minutes before slicing. (to keep the top from burning, I took about half of the briquettes off the top for the last 10 minutes)
No comments:
Post a Comment